Are you wondering how to install LED strip lights? Look no further! Here at Light Supplier, we receive countless inquiries about the installation process. The good news is, even without extensive knowledge in electronics or lighting, you can install LED strip lights yourself as part of a fun DIY project.
While we do recommend consulting an electrician beforehand, our simple step-by-step guide will help you navigate the installation process smoothly. Whether you’re looking to install LED strip lights under cabinets, inside furniture, or in wardrobe spaces, we’ve got you covered.
Before You Begin
Before diving into your installation, take a moment to consider the right color and brightness for your LED strip lights. At Light Supplier, we offer a wide range of options to suit your preferences. For under cabinet lighting, we suggest choosing strips with 600 LEDs per reel for added intensity. Additionally, consider adding a dimmer switch to control the lighting’s intensity based on the time of day.
Recommended Supplies:
To ensure a successful installation, gather the following supplies:
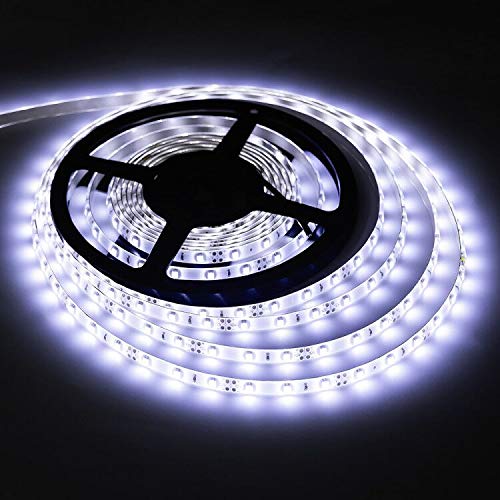
2 reels of your preferred strip lighting
100W Mean Well 12v Power Supply
Cerrowire extension
Strip-to-strip solderless connector
Strip-to-strip “no wire” solderless connector
LED strip Dimmer (optional)
Sharp scissors
Wire strippers
Measuring tape
4 wire nuts
Black electrical tape
Choosing the Right LED Driver
Before selecting your LED driver, it’s essential to understand the difference between low voltage DC and high voltage AC input power. While high voltage AC drivers are called off-line drivers, we recommend using a low voltage DC input LED driver in most cases. Even if the input voltage is high, a switching power supply can be used with a DC driver.
Keep in mind that the type of drivers and power supplies needed may vary depending on factors like cutting and connecting strips, as well as the length and density of the LEDs. Always refer to the product information to ensure correct installation.
Step 1: Double-Check Your Lights
It’s crucial to confirm that your LED strip lights are working correctly before installation. Follow these steps to ensure everything is in order:
Set up a “mock” installation to check for any missing parts or supplies.
Release the strip lights from their reel.
Attach the uncut lights to your power supply and turn it on.
Verify that all of the LED lights illuminate.
Assess the brightness and intensity of the lights to determine if they meet your project’s requirements. Consider whether you need a dimmer or a different color for your installation.
>>> Follow us to discover the Best led light strips
Completing these steps will give you peace of mind, ensuring that your lights have the right color, intensity, and compatibility with your decor. If you encounter any issues, such as a broken diode, it might be a simple connection error. You can proceed to step 4 to fix it yourself or reach out to our team for assistance or a replacement.
Step 2: Measure & Cut Your Light Strip
Now that you’ve confirmed everything is working, it’s time to begin the installation process. Whether you’re placing your strip lighting under cabinets, counters, or inside furniture, follow these steps:
Measure the exact length of your installation area using a measuring tape. This measurement will determine how much strip lighting you’ll need.
Cut your strip lighting with sharp scissors to match the measurement of your installation area. This step prepares you for a seamless installation.
Note: LED lighting can only be cut at designated areas indicated on the strip itself. If you’re unsure where to cut, refer to our instructional video for guidance.
Step 3: Strip & Power Connection
To connect your power supply and dimmer (if applicable), you’ll need to add a low voltage extension wire to the end of the first run of strip lights. Follow these steps:
Cut the extension wire to the appropriate length.
Strip approximately an inch of insulation from both the extension wire and the strip light.
Wrap the exposed ends of the wires together.
Use wire nuts to securely connect the wires or loosely add them to be tightened during the final installation.
Step 4: Connecting LED Strips Together
Most DIY projects require using multiple sets of strip lights. If you’re using more than two, you’ll need to connect cut sections of LED strips using a strip-to-strip connector. Opt for a solderless connector for convenience when installing lights on your own. Here’s how:
Obtain a strip-to-strip connector
Connect the first run of lights to the second run, and so on, creating a continuous strip that can be installed around corners.
Peel back 0.5 to 1 inch of tape from both the front and back of the connector to expose enough space for the connection.
Ensure the wider white side faces up before attaching the connector.
Identify the positive and negative ends, and ensure that the wires from the connector align correctly.
Note: While black and red wires often signify positive/negative connections, it’s essential to look for the correct markings before making any attachments. Also, make sure your lights are not connected to any electrical units during this step.
Step 5: Testing
Once you’ve completed step 4, it’s time to test your lights. Use wire nuts or a 2-way terminal block to connect all the strip lights to a power supply. Ensure that all the wires are properly connected and that all the diodes are functioning. At this stage, also verify that your dimmer is working correctly.
If the lights appear dimmer or don’t turn on immediately, check your connectors. Sometimes, the positive/negative alignments may not be securely connected, requiring you to disconnect and reconnect them.
Note: When inspecting the connectors, ensure there are no electrical currents to avoid any potential harm or injury.
Step 6: Install & Enjoy
Congratulations! You’ve reached the final step. Now, it’s time to install your LED lights and bask in the beautiful illumination they provide. Follow the manufacturer’s instructions to secure the lights in your desired location, whether it’s under cabinets, inside furniture, or in wardrobe spaces. Once installed, sit back, relax, and enjoy the ambiance created by your new LED strip lights!
Remember, our comprehensive guide is here to help you every step of the way. In case you encounter any difficulties, don’t hesitate to reach out to our knowledgeable team members for assistance